
Allow children to mark-make by providing them with resources and the opportunity to do so. Resources can include sticks, stones, pens, pencil crayons, pencils, wax crayons, salt, shaving foam, literally anything that is safe for them to use to either make the marks with or in. Let them explore. They don’t need to copy a pattern all the time and they don’t need to be writing just letters. The squiggles, dots and doodles are all part of the process which leads to being able to write letters and numbers clearly.

What Exactly Is Mark-Making?
Mark-making is the act of pre-writing. Writing itself is a complex task which requires a lot: hand-eye co-ordination, pencil grip and control, hand strength and stamina, knowledge of letters and numbers and an understanding that writing them in a certain order means something.
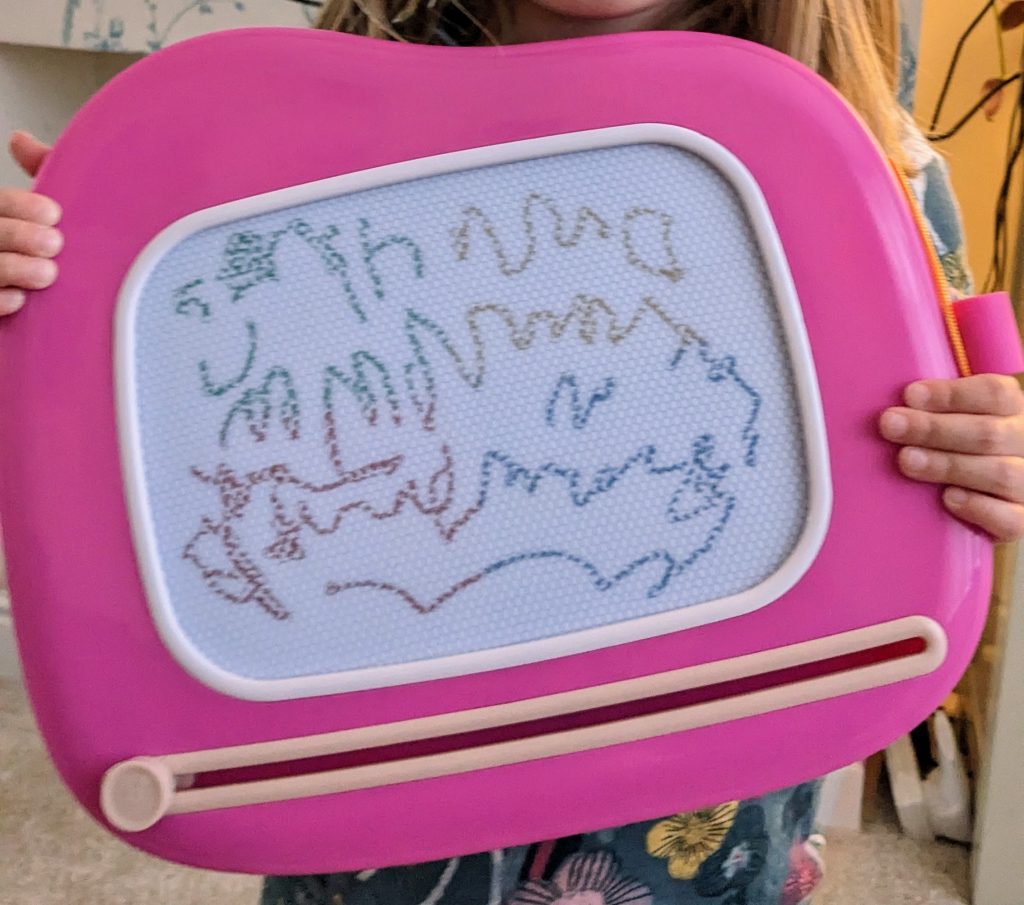
Mark-making is using an implement such as a finger, a paintbrush or a stick to make marks on something like paper or a wall. The marks don’t have to mean anything. They can be lines, dots or squiggles too.
It can also be done anywhere. One example would be picking up a stick in the forest and using that to make marks on the forest floor in the mud.
Mark-making practises some of the skills needed in order to start writing words. It enables the child to practise their fine motor skills to build stamina in their hand and fingers. It also allows them to practise hand-eye co-ordination and make a connection that if they move their hand with this stick in their hand, then a mark is being made.
How Can We Get Mark-Making Into Our Day?
For younger toddlers (1-2 years), it should be a free-flow activity which they can choose whether to do. An adult can show them what to do and they can choose to copy or attempt similar, if they wish, or they can draw something completely different not taking anyone’s lead but simply being provided the opportunity to do it.
For toddlers and preschoolers (3-4 years), it can still be a free-flow activity but depending on the child and their concentration span can be an activity which is adult-led for a few minutes.
When Should Children Start Mark-Making?
Mark-making can start as soon as you want. Marks can be made with hands and fingers in paints or can also be made by holding something like a pen or stick so this will require the child to be able to hold the item in their hand. If this is the case, then they are ready to hold something like a felt pen or a wax crayon or a paintbrush and then have a go at making marks. Just make sure to watch that they don’t pop these into their mouths.
Many parents and early years practitioners prefer to use taste safe items around younger child in case they do decide they want to eat it. These are items and food which will cause no harm if the child decides they want to eat it rather than play with it.
There is an ethical debate around whether food items should be used in play because there are people in the world with little food. It is up to you to make your own judgement.
What Do Children Learn From Mark-Making?
Mark-making is a baby’s first steps into communicating in a written way.
They are exploring what happens when they, for example, hold a stick and swipe it in the mud. They are finding out how the mud feels, how it moves and what it looks like when it has moved to a different place.
Mark-making develops the child’s imagination and allows them to express themself in a new way.
It gives them the opportunity to make a gift for someone or to show someone the picture they made. It allows them to feel pride.
Where Can We Do Mark-Making?
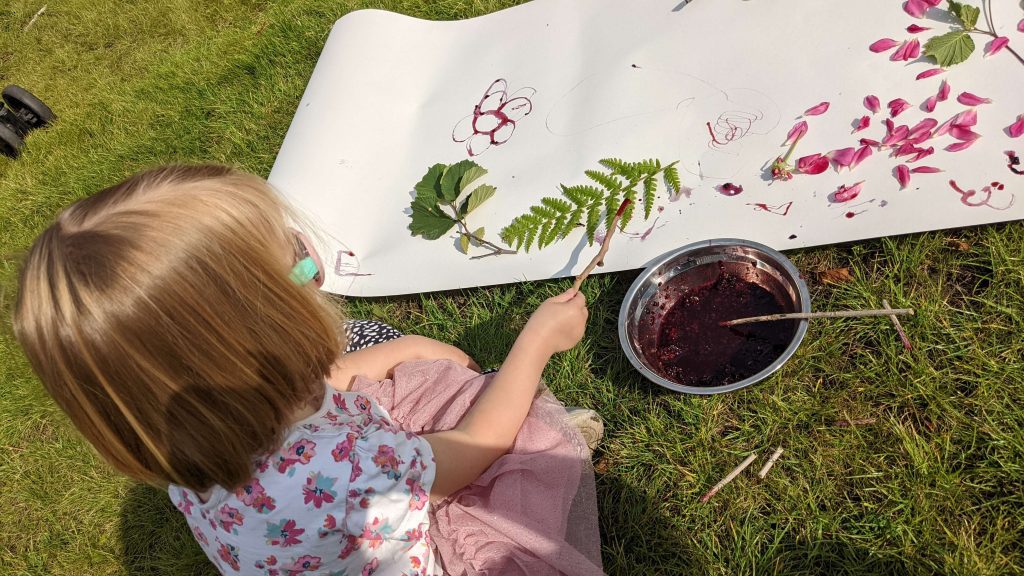
Mark-making can be done inside or outside. Provide or find opportunities for them wherever you are: if you’re at the park, can they use a stick to make lines on the path? If you’re in the garden, can they make a picture using flowers and grass? If you’re inside, can they use a lolly-stick to make marks in their playdough? There are so many opportunities for mark-making and there is a list further down the page for ideas.
What Are The Early Stages Of Mark-Making?
- Lines & Dots
- Copying Single Marks Made By Others
- Curves & Closed Shapes
- Copying Lines and Curves
- Drawing Symbols With Lines & Curves
Activities to Aid Mark-Making
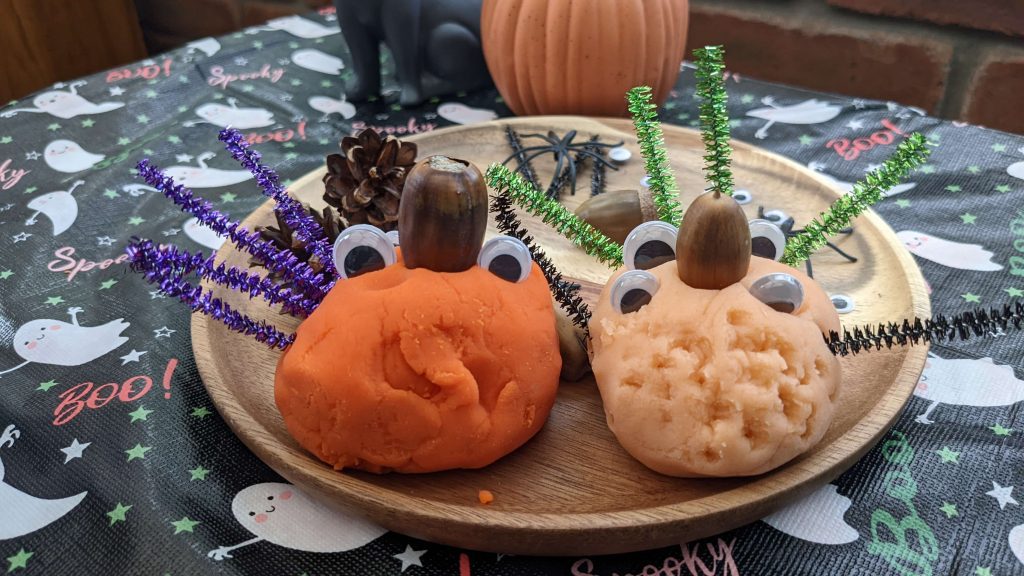
Playdough
Playdough is brilliant for building up stamina and strength in tiny fingers and hands when squished and pulled and pushed around.
It can be used to make pictures perhaps in sausage shapes.
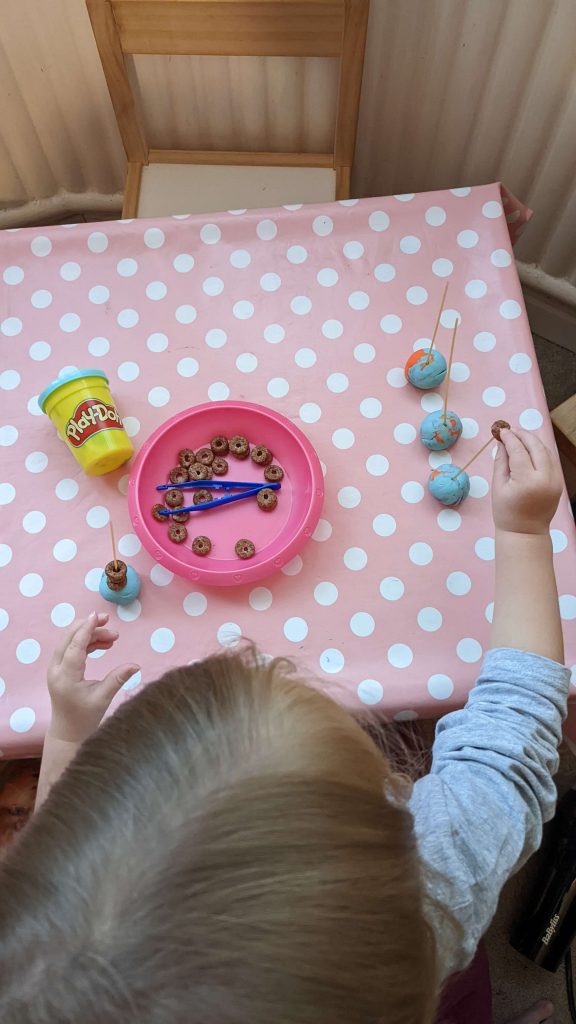
Using Pincer Grip
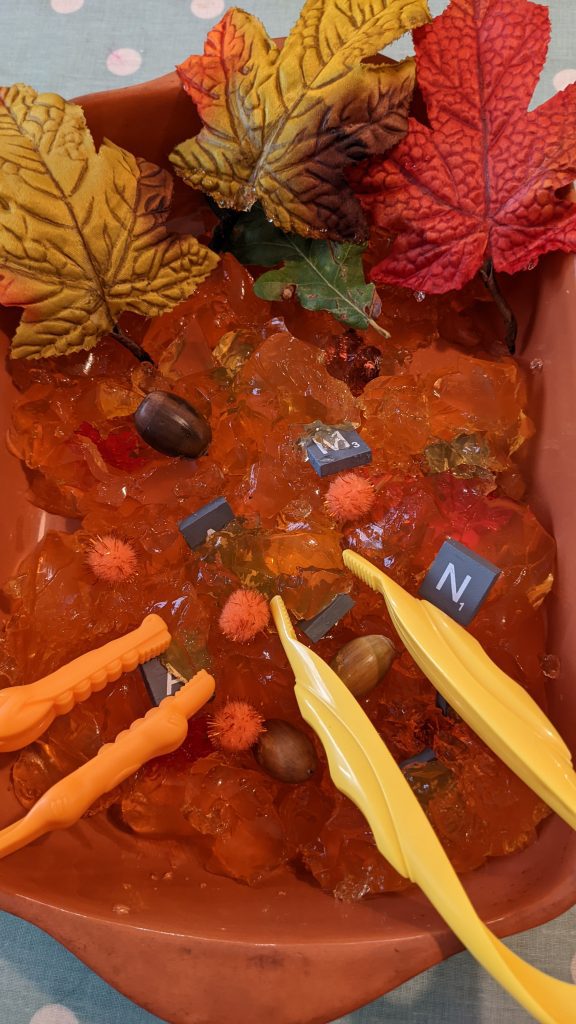
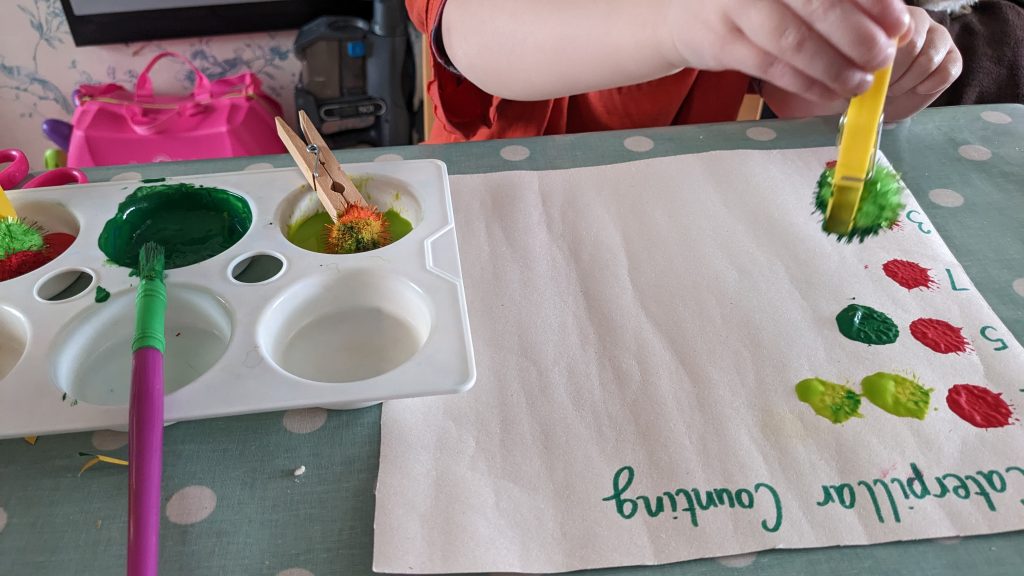
Provide opportunities with sensory trays and smaller items with child-friendly tweezers. This will practise their pincer grip and help build up the muscles in their hands and fingers.

Playing With Pegs
Pegging up paper, doll’s clothes or socks on a washing line will help build up the strength in your little one’s hands. Tie some string up between two points in your playroom or outside and provide a basket of pegs an
Threading
We have these cute little animal shapes which I like to get out to match a theme we’re looking at. There are sea creatures, farm animals, dinosaurs and jungle animals or we just have the whole set out.
Threading is great fine motor practice.

Mark-Making Activities
Playdough
Playdough be used as a writing board to mark-make on.
You could provide stamps, playdough tools, lolly sticks or natural items such as flower heads or sticks and the children could make marks using those.
Drawing
Use large paper on the grass or stuck up on the fence or inside wall. This gives them opportunities to draw either sitting or standing up.
Have an easel out with paper and drawing implements ready.
Drawing can be done with pencils, pencil crayons, wax crayons, chalks, sticks, stones or charcoal.
Making Prints
Provide children with lemons sliced open or potatoes cut in half with patterns. lines or pictures cut into them.
Sponges can also be cut into different shapes.
Shower puffs are great for making prints too.
I have seen lots of people putting water in balloons and then blowing them up a little. They then dip them in paint and squidge them down on some paper to make their pictures.
How about painting leaves and then placing them onto paper to see the imprint.
Making Marks Which Disappear
I couldn’t think of a suitable heading for this one but I mean places you can make marks which will then disappear if you want to make more marks.
Examples:
- Salt – You can use white salt or add food colouring.
- Custard
- Shaving foam
- finger paints on a plastic tray surface
- sand
- glitter
- crushed up cereal (I use a food processor)
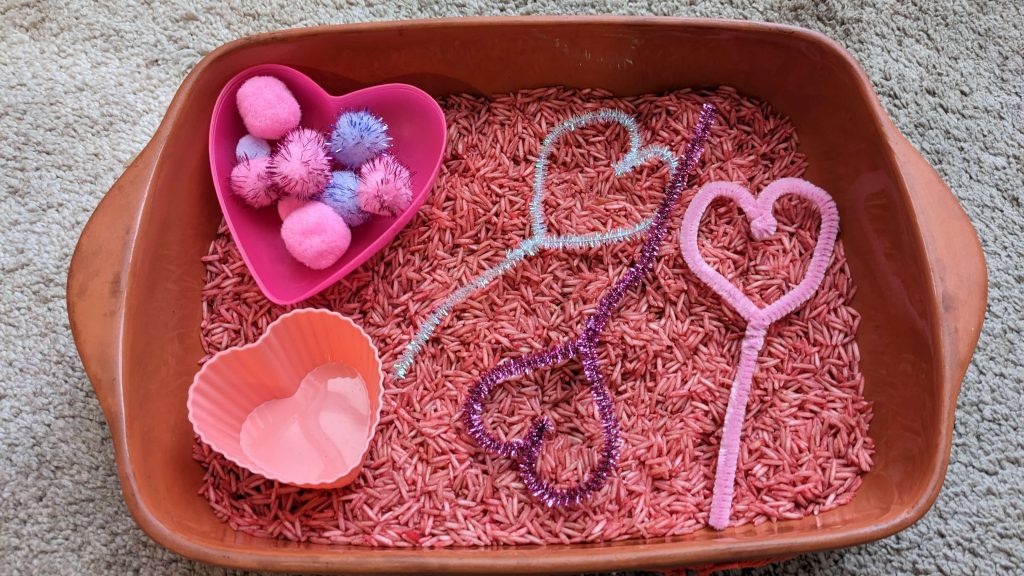
- rice – this can also be coloured using food colouring and vinegar
- water painting outside (it will just evaporate afterwards)
Painting
Painting can be done at an easel, on the wall, on a table, on the floor or on the ground outside.
Utensils to use include:
- paintbrushes
- sticks
- potato masher
- toy cars rolled in paint and then rolled on the paper
- plastic animal toys to make footprints
- feathers
- toothbrushes
- cotton wool on pegs
- scrunched up tin foil
- string
- cotton bud
- fingers
- feet
- pipe cleaners

Different Places To Make Marks
- Boxes
- Eggs
- In a tray
- On a plastic playhouse
- In the sand on the beach
Enjoy making fun memories with your kids!
Recent Posts
Need ideas for how to incorporate water play into your week? Click here to find 15+ ideas.